Getting Started
Connect your MetaMask wallet
Purpose: Connect your MetaMask wallet to HAIPA so you can begin configuring your trading agent.
Steps
- Click Connect Wallet on the HAIPA landing page.
- Select MetaMask from the list of supported wallets.
- When MetaMask opens, choose the specific account you want to use.
- Review the connection request.
- Click Connect to attach the wallet.
- Click Sign In and sign the SIWE request in your wallet. This signature is only used to prove your ownership of the account and doesn't move funds.
- Once the sign-in completes, HAIPA takes you to the Agent Rails dashboard, where you can begin configuring your agent's risk policy.
Connecting your wallet does not give HAIPA custody of your assets. HAIPA is a non-custodial policy engine. Every action your trading agent takes must still satisfy the trading policies you define before any order is submitted.
Generate a HAIPA Agent key
This is the short version to keep the setup flow moving. The full walkthrough — including rotation and the Reset tab — is in Understanding the HAIPA Key System.
You can provision an agent key during onboarding, or later after resetting your existing agent key:
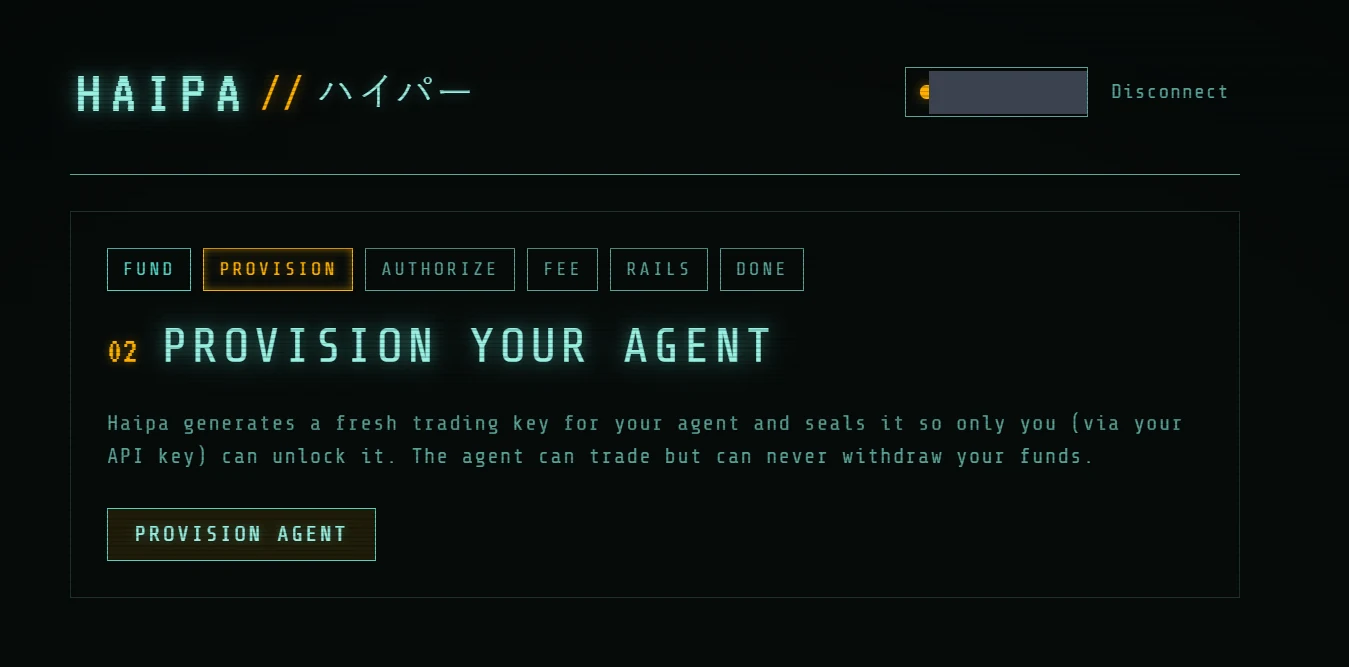
- In the HAIPA admin UI (app.haipa.ai), open the Provision tab and click Provision Agent.
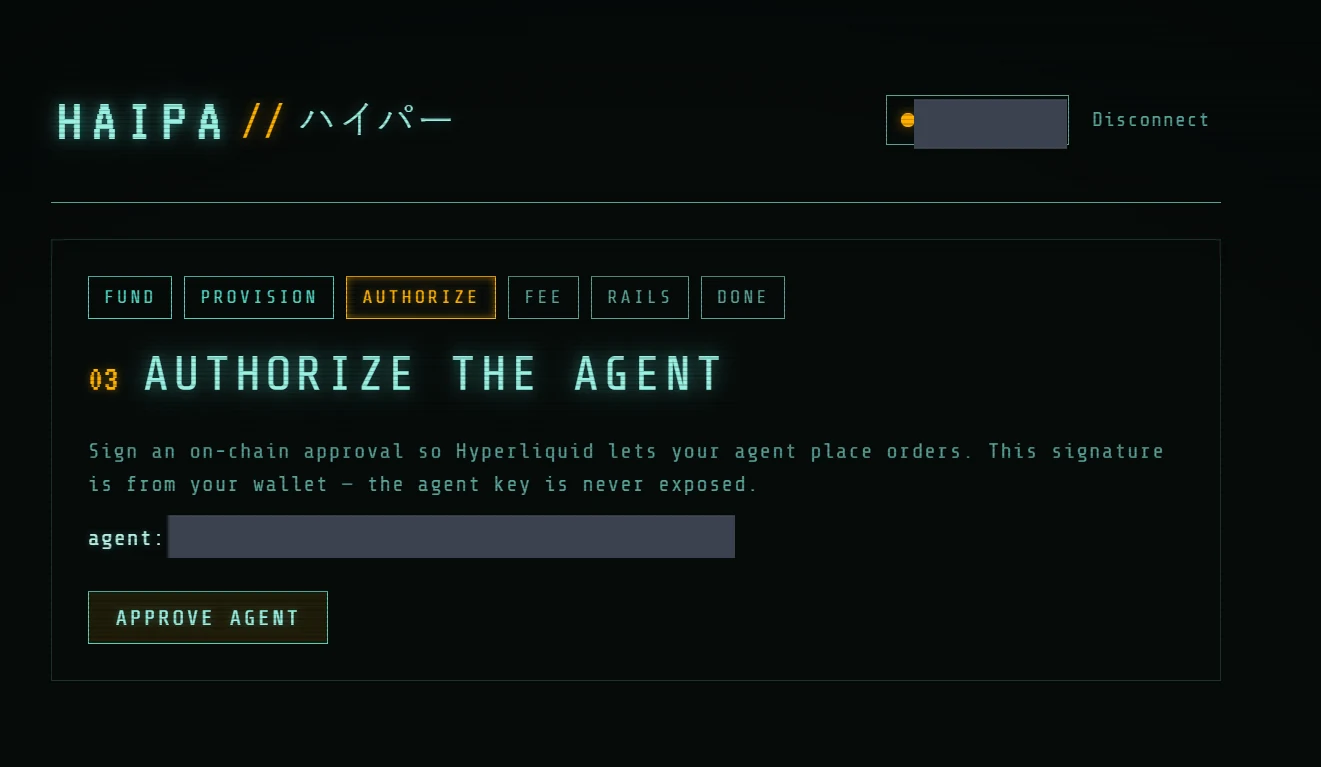
- Approve the agent key by signing an ApproveAgent transaction on Hyperliquid with your wallet. On the Authorize page, click Approve Agent.
HAIPA agent keys are named either haipa-mcp or haipa-algo. Disabling either agent in the official Hyperliquid UI is your prerogative, but doing so severs that agent's ability to manage orders on your behalf and requires resetting the agent key in the HAIPA admin (app.haipa.ai).